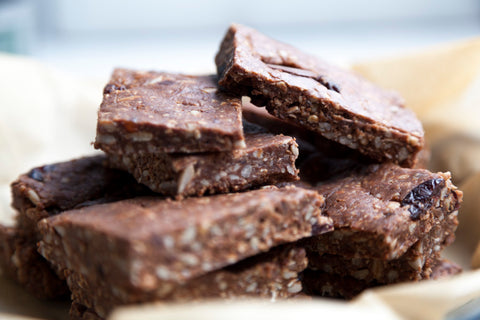
Chocolate bark is one of the easiest chocolate projects to tackle at home. It comes together in as little as 15 minutes and is incredibly simple to customize with your favorite flavors. Today we’re sharing instructions for making chocolate bark at home as well as notes on a few varieties our team tested out. Find a cute box or tin and give the gift of something handmade and delicious! It’s also a fun recipe to make with kiddos, letting them choose their favorite toppings.
INGREDIENTS
9 oz pkg Chocolate discs (choose your favorite: dark, milk, or white)Toppings (nuts, dried fruit, salt, sprinkles, cereal, whatever your heart desires!)
PREPARATION
1. Prepare flat surface with sili-mat, parchment, or wax paper
2. Melt the chocolate using a double boiler or in the microwave. If melting in the microwave, do so on 50% or 60% power in 30 second intervals until melted. It's easy to scorch chocolate by overheating or using full power. Be careful here!
3. Pour the melted chocolate onto your mat/paper and spread thinly using an offset spatula or whatever tool you have to work with. We love thin chocolate bark so we spread it as thin as possible. Do whatever suits you best!
4. Sprinkle toppings evenly across chocolate. Allow to set-up, cut or break apart and enjoy! Tempered chocolate will set up quickly but non-tempered chocolate may take several hours.
*NOTES
1. You can opt for an 'inclusion' bark instead of a 'topped' bark and, in that case, you simply mix the toppings in with the melted chocolate in the bowl and then pour onto the surface. This will result in a chunkier bark.
2. If your chocolate gets too thick, add 2 tbsp of cocoa butter or coconut oil and re-melt.
Don't forget to tag us on social media with your bark recipe! We love seeing your creations.


